
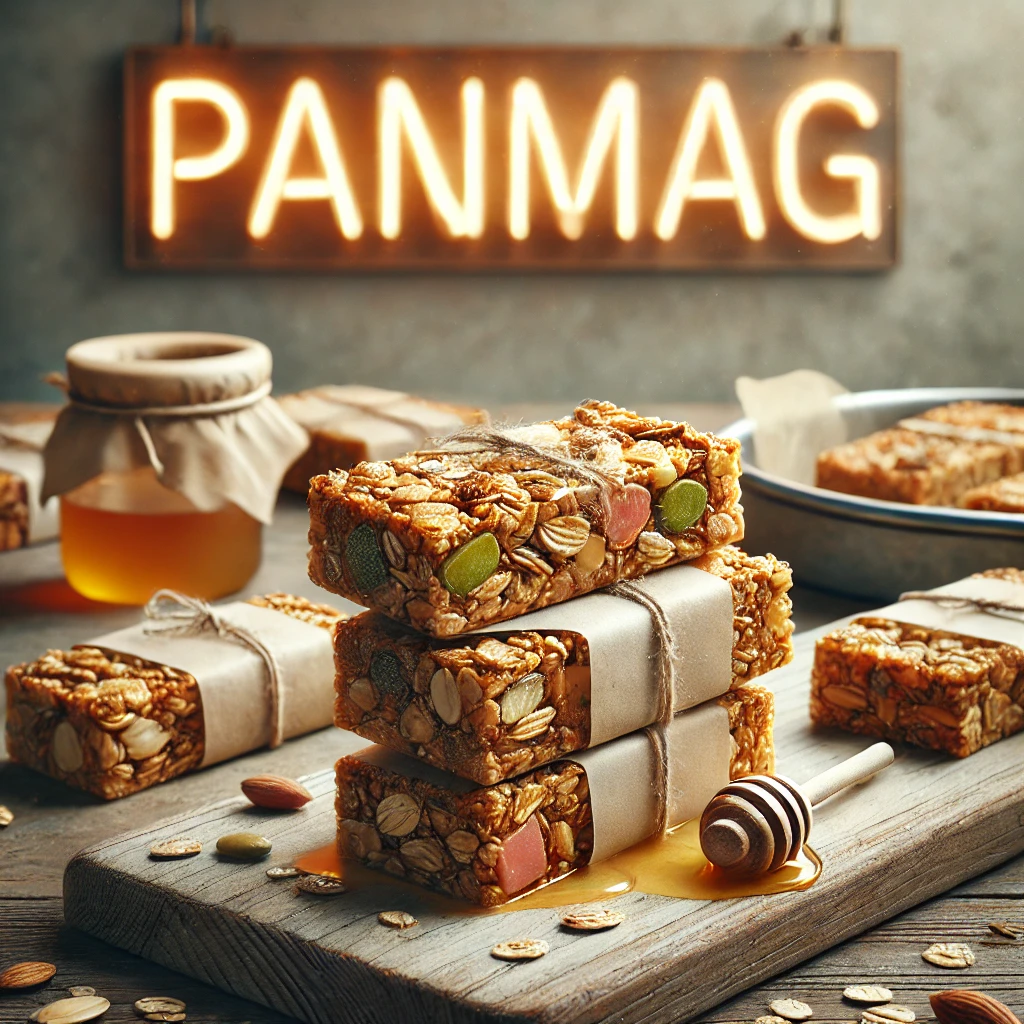
Granola Bars:
Embark on a culinary adventure to create your batch of delectable granola bars in your kitchen. This straightforward, step-by-step recipe ensures a gratifying outcome, yielding wholesome treats perfect for a swift breakfast, a midday energy surge, or a delightful snack anytime. Say farewell to store-bought varieties laden with enigmatic constituents and embrace the purity of homemade goodness. These bars are remarkably adaptable; feel free to incorporate your preferred nuts, dried fruits, or even a scattering of chocolate morsels for an extra indulgence. We shall guide you through each phase, making the process facile and immensely rewarding. Prepare to fill your abode with the inviting aroma of freshly baked granola!
Summary
This guide provides a comprehensive, yet simple, method for crafting homemade granola bars. Beginning with a succinct overview, we delve into the essential apparatus, a compendium of necessary constituents, explicit directives for preparation, and conclude with helpful annotations for optimal results and customization. The aim is to empower you to produce nutritious and toothsome granola bars with utmost ease, ensuring a superior texture and flavour that surpasses commercial alternatives. Adhering to these instructions will culminate in a batch of perfectly bound bars, eschewing the common pitfall of crumbling.
Equipment
To facilitate the creation of these magnificent granola bars, gather the following instruments:
- Large mixing bowl
- Measuring cups and spoons
- Saucepan
- Spatula or wooden spoon
- 9×13-inch baking pan
- Parchment paper
- Sharp knife or pizza cutter
Possessing the appropriate tools streamlines the process, rendering the assembly and baking phases exceedingly manageable. Ensure all equipment is readily accessible before commencing.
Ingredients
The foundation of exceptional granola bars lies in the calibre of their constituents. Here is a precise enumeration of what you will require:
- 3 cups of rolled oats (not instant)
- 1 cup of nuts and/or seeds (such as almonds, walnuts, pumpkin seeds, sunflower seeds)
- 1 cup of dried fruit (such as cranberries, raisins, apricots, chopped dates)
- 1/2 cup of honey or maple syrup
- 1/4 cup of brown sugar, packed
- 1/4 cup of butter or coconut oil
- 1 teaspoon of vanilla extract
- 1/2 teaspoon of salt
- Optional: 1/2 cup of chocolate chips or other desired add-ins
The judicious selection of fresh and flavorful items will significantly elevate the final product. Feel free to experiment with proportions and varieties to tailor the bars to your gustatory inclinations.
Instructions
Follow these explicit directives to construct your homemade granola bars:
- Prepare the Pan: Preheat your oven to a moderate 300°F (150°C). Line the 9×13-inch baking pan with parchment paper, leaving an overhang on the sides to facilitate easy removal. This preliminary step is crucial for preventing adherence and ensuring a clean extraction of the finished bars.
- Combine Dry Ingredients: In the capacious mixing bowl, intermingle the rolled oats, nuts, seeds, and dried fruit. Ensure an even distribution of these elements throughout the mixture. This forms the bulk of your granola bars.
- Prepare Wet Ingredients: In the saucepan, gently heat the honey or maple syrup, brown sugar, butter or coconut oil, salt, and vanilla extract over medium heat. Stir constantly until the butter is entirely liquefied and the sugar has dissolved. This syrupy concoction acts as the binding agent.
- Combine Wet and Dry: Pour the warm liquid mixture from the saucepan over the dry ingredients in the mixing bowl. Employ the spatula or wooden spoon to combine until all the dry components are thoroughly coated. This step requires diligent mixing to ensure uniformity.
- Press into Pan: Transfer the entire mixture into the prepared baking pan. Press the mixture down firmly and evenly into a compact layer using the spatula or the back of a clean measuring cup. The more robustly you press, the better the bars will cohere. Pay particular attention to the edges and corners.
- Bake: Place the pan in the oven for approximately 20-25 minutes, or until the edges appear golden brown. The duration may vary slightly depending on your oven’s calibration. Keep a vigilant eye to prevent over-baking.
- Cool: Remove the pan from the oven and let the granola cool completely on a wire rack. This phase is paramount for achieving the correct texture and preventing the bars from disintegrating when sliced. Patience is a virtue here.
- Slice: Once entirely cool, utilise the parchment paper overhang to lift the entire granola slab from the pan. Place it on a cutting surface. Employ a sharp knife or a pizza cutter to slice the granola into your desired bar size. Clean, decisive cuts will yield aesthetically pleasing bars.
- Store: Store the finished granola bars in an airtight receptacle at room temperature for up to a week, or in the refrigerator for an extended duration. Proper storage preserves their freshness and texture.
Notes
- Customisation: Feel empowered to modify the types of nuts, seeds, and dried fruits to align with your predilections and dietary necessities.
- Binding: Ensuring the liquid mixture is adequately heated and thoroughly mixed with the dry ingredients is pivotal for producing intact bars.
- Cooling Time: Allowing sufficient cooling time before slicing is non-negotiable for structural integrity. Resist the temptation to slice prematurely.
- Even pressing: Uniformly pressing the mixture into the pan guarantees that all bars will have consistent density and texture.
- Ingredient Quality: The flavour profile of your granola bars is directly correlated with the freshness and quality of your constituents. Opt for premium ingredients whenever feasible.
- Sweetness Adjustment: The quantity of honey or maple syrup can be adjusted slightly based on your desired level of sweetness.
- Add-ins: If incorporating chocolate chips or other meltable additions, fold them in after the mixture has slightly cooled but is still pliable, to prevent them from completely liquefying during the baking process.