
Tteokbokki Recipe
Summary:
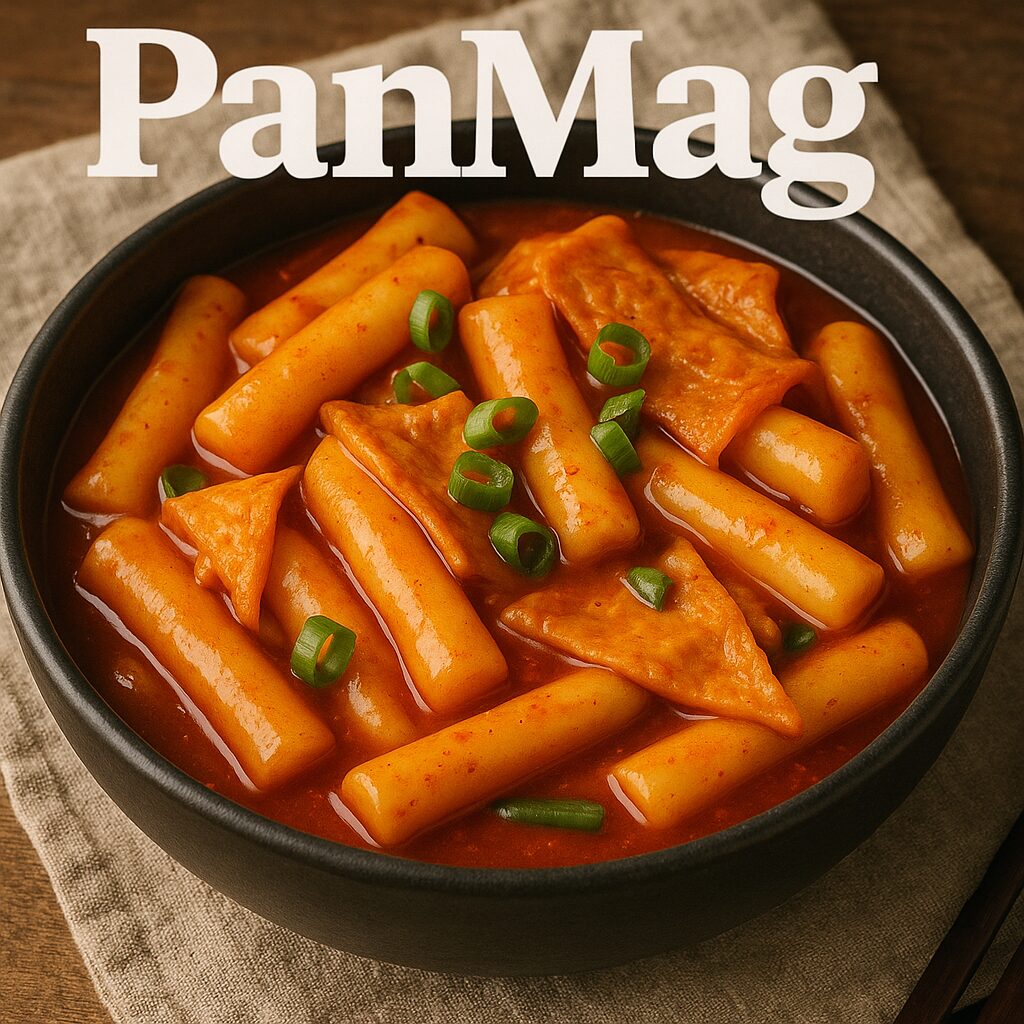
Tteokbokki Recipe is one of the most beloved Korean street foods, known for its spicy, sweet, and chewy rice cakes. Combining gochujang (Korean chilli paste), sesame oil, and the savoury broth creates a unique, umami-packed flavour that will have you craving more. In this tteokbokki recipe, I’ll show you how to make this dish with a citrus twist to balance the heat. Whether new to cooking Korean food or a seasoned pro, this straightforward step-by-step guide will help you recreate the rich and comforting…
Equipment:
– Large pot or deep skillet
– Wooden spoon or spatula
– Knife and cutting board
– Small bowl (for mixing sauce)
– Measuring spoons
Ingredients:
– 1 lb tteok (Korean rice cakes, fresh or frozen)
– 2 tablespoons vegetable oil
– 3 tablespoons gochujang (Korean chilli paste)
– 1 tablespoon soy sauce
– 2 tablespoons brown sugar
– 1 tablespoon sesame oil
– 2 cups water or chicken broth
– 1/2 onion, sliced thinly
– 2 cloves garlic, minced
– 1 tablespoon fresh lemon juice (for citrus twist)
– 1 tablespoon sesame seeds (optional, for garnish)
– 2-3 green onions, chopped (for garnish)
Instructions:
Step 1: Prepare the Tteok (Rice Cakes)
1. If using frozen rice cakes, soak them in warm water for 30 minutes to soften. Fresh tteok can be used directly without washing. Once softened, drain the rice cakes and set them aside.
2. Pro Tip: If you prefer firmer rice cakes, skip soaking the tteok and cook them directly in the sauce. Soaked rice cakes tend to be softer, which is traditional for tteokbokki.
Step 2: Make the Tteokbokki Sauce
1. Combine gochujang (Korean chilli paste), soy sauce, brown sugar, sesame oil, and lemon juice in a small bowl. Stir the mixture well to combine. The lemon juice adds a refreshing citrus flavour that balances the spice and sweetness of the gochujang.
2. Pro Tip: Taste the sauce before adding it to the pot. If you like spicier gochujang, add more. For a sweeter sauce, add a bit more sugar. Adjust the seasonings to suit your preferences.
Step 3: Stir-Fry the Aromatics
1. Heat the vegetable oil in a large pot or deep skillet over medium heat. Add the sliced onion and sauté for 2-3 minutes until it becomes soft and translucent.
2. Add the garlic and sauté for another minute until fragrant. The aroma of garlic and onions will fill your kitchen, making you eager to get to the next step!
Step 4: Cook the Tteokbokki
1. Add the water or chicken broth to the pot and bring it to a simmer. Once simmering, pour in the prepared sauce mixture and stir well to dissolve the ingredients.
2. Add the soaked rice cakes into the pot and stir to coat them evenly in the sauce. Let the rice cakes cook in the sauce for 5-7 minutes, stirring occasionally. The sauce will thicken, and the rice cakes will absorb the flavours of the sauce.
3. Pro Tip: If the sauce gets too thick before the rice cakes are soft enough, add more water or broth to reach your desired consistency. The sauce should be thick but not too sticky.
Step 5: Garnish and Serve
1. Remove the pot from the heat once the rice cakes are tender. Sprinkle sesame seeds and chopped green onions on top for added flavour and colour.
2. Serve immediately while the tteokbokki is still hot. The dish is often enjoyed independently, but you can pair it with Korean side dishes like kimchi or pickled radish for a fuller meal.
Notes:
– Vegetarian Option: For a vegetarian version of tteokbokki, use vegetable broth instead of chicken broth, and omit meat-based toppings.
– Extra Ingredients: Feel free to add other ingredients like fish cakes (eomuk), boiled eggs, or mushrooms to make the dish more filling. These are popular additions to traditional tteokbokki recipes.
– Storage: Leftover tteokbokki can be stored in an airtight container in the refrigerator for up to 2 days. When reheating, add a splash of water to loosen the sauce and keep the rice cakes tender.
– Freezing Tip: You can also freeze leftover tteokbokki for up to 1 month. Thaw in the refrigerator overnight and gently reheat in a pan with water to restore its texture.